How to Install Ubuntu Linux on Windows 11 with WSL 2

Have you ever wondered how WSL 2 (Windows Subsystem for Linux) lets developers use a Linux-like environment right on Windows? It's quite intriguing! It provides a simple way to set up Laravel, PHP, Python, Node.js, Vue.js, React.js, and many more for development. Let's explore how to get started quickly.
Step 1: Enable Virtualization in BIOS
Restart your computer and enter the BIOS/UEFI settings (usually by pressing
F2,Delete, orEscduring boot).Look for an option like Intel Virtualization Technology, AMD-V, or SVM Mode under the processor or advanced settings.
Enable the option and save changes.
Restart your system.
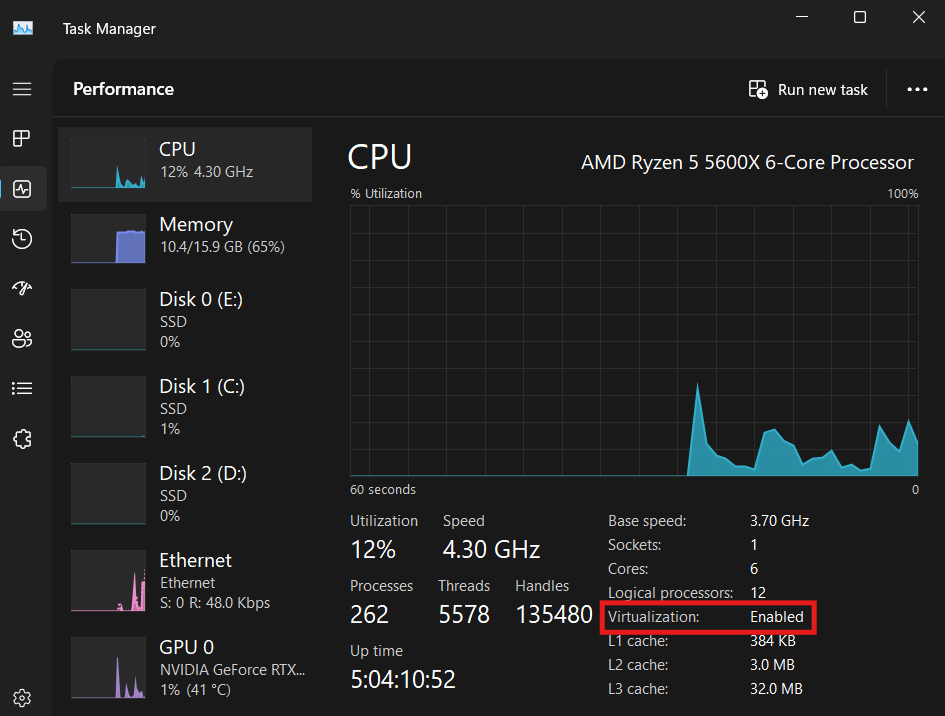
Check if it enabled using Windows Task Manager
Ctrl + Shift + Esc
Step 2: Install WSL 2 and Ubuntu on Windows 11
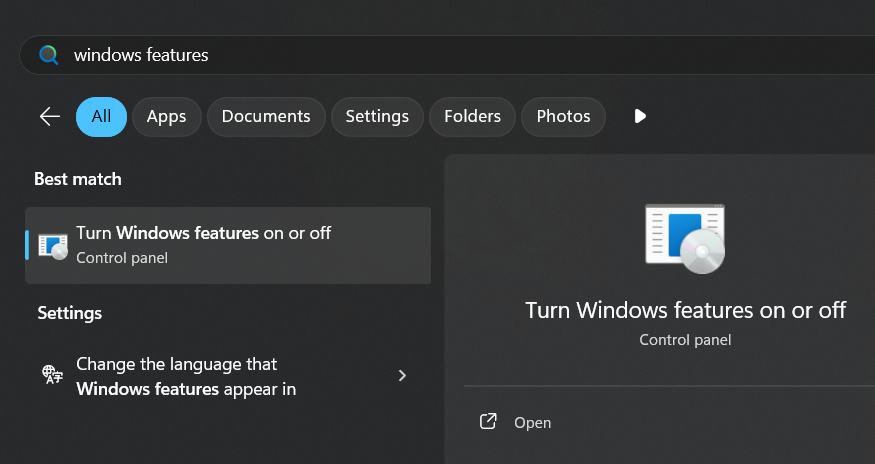
First, we need to check if Windows Subsystem for Linux is enabled as a feature on Windows or not, so press Start key on your keyboard to bring start menu on front and type windows features and open the program.
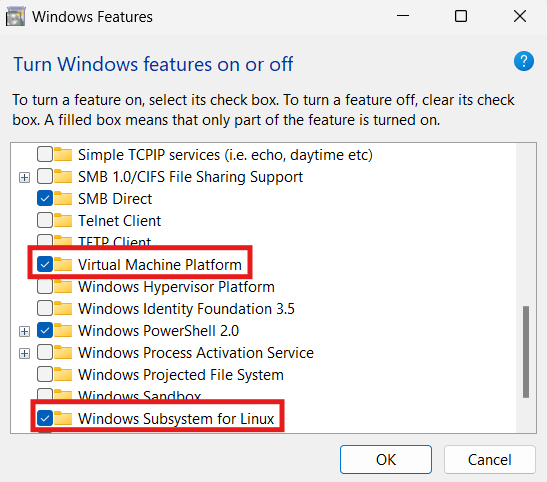
Now enable Windows Subsystem for Linux and Virtual Machine Platform and restart your machine.
Open Windows Powershell as Administrator and run the following command to install WSL 2 and Ubuntu Linux OS on Windows.
wsl --install # default Ubuntu release
If you're still having trouble installing WSL 2 on your Windows computer, feel free to comment below. I'm here to help!